Well Pump Pressure Tank Setup: A Comprehensive Guide for Optimal Performance
Well pump pressure tank setups are essential components in residential water supply systems that use well water. These setups ensure consistent water pressure, maintain water flow, and preserve the well pump’s lifespan. As a homeowner with a well water system, understanding the basics of well pump pressure tank setup is crucial.
In a well pump pressure tank setup, the pressure tank stores water and regulates the water pressure by responding to fluctuations in household water demand. When water is drawn from the well, the pressure tank compresses, maintaining constant water pressure and distributing water throughout the home. The pressure tank also prevents the well pump from switching on and off continuously, thus, prolonging the pump’s life. Proper installation, maintenance, and troubleshooting of well pump pressure tanks are vital to ensuring an optimal water supply and maintaining your home’s well water infrastructure.
Key Takeaways
- Well pump pressure tank setups ensure consistent water pressure and flow in homes using well water
- Understanding the basics of well pump pressure tank setups is crucial for homeowners with well water systems
- Proper installation, maintenance, and troubleshooting contribute to an optimal water supply and well infrastructure.
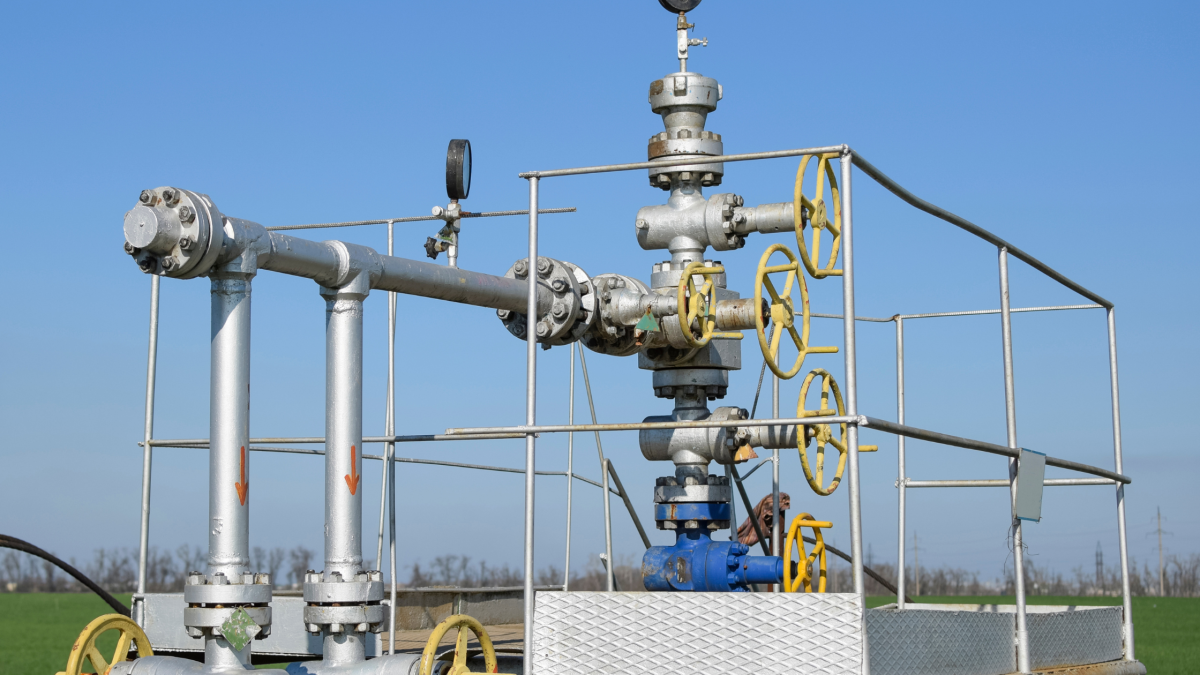
Understanding Well Pump Pressure Tank Setup
Basic Components
A well pump pressure tank setup consists of a few crucial components that work together to ensure a steady water supply to your home. These components include:
- Well Pump: This device is responsible for pumping water from the well to the pressure tank. It’s usually located deep within your well.
- Pressure Tank: The pressure tank is a large container that holds water under pressure. It’s purpose is to maintain consistent water pressure throughout your home.
- Check Valve: Installed on the water pipe before the pressure tank, the check valve prevents water from flowing back from the pressure tank to the well.
- Pressure Switch: This switch automatically controls the pump, turning it on and off to maintain the necessary pressure settings in the tank.
Role in Water Supply System
The well pump pressure tank setup plays a vital role in your home’s water supply system. Here’s a brief overview of how it functions:
- When the pressure in the tank drops below a certain level (e.g., 20, 30, or 40 psi), the pressure switch activates the well pump, which starts pumping water from the well to the pressure tank.
- As the water fills the pressure tank, it creates pressure in the tank until the desired pressure setting is reached (e.g., 40, 50, or 60 psi).
- At this point, the pressure switch turns off the well pump, and the system is ready to supply water to your home’s fixtures when required.
- As you use the water in your home, the pressure in the tank decreases, and the cycle repeats, ensuring a continuous supply of water at the desired pressure.
By understanding the basic components and their role in your well water system, you can better assess and maintain your well pump pressure tank setup to ensure a reliable water supply for your home.
Types of Well Pump Pressure Tanks
When setting up a well pump pressure tank system, it is essential to choose a suitable pressure tank that will meet your specific needs. This section will cover the two main types of well pump pressure tanks: bladder tanks and diaphragm tanks.
Bladder Tanks
Bladder tanks are a common and efficient type of well pump pressure tank. These tanks contain an internal bladder made of heavy-duty rubber material that separates the air from the water. As water is pumped into the tank, the bladder expands, resulting in increased air pressure. The compressed air then pushes the water out when you open a faucet or use an appliance.
The advantages of using a bladder tank include:
- Less Air Loss: The bladder’s design minimizes air loss, ensuring your system maintains consistent pressure over time.
- Reduced Waterlogging: With a proper functioning bladder, waterlogging in the pressure tank becomes less likely.
- Easy Maintenance: The internal bladder can be replaced easily, allowing for efficient maintenance and repair.
To choose the right bladder tank for your setup, consider factors such as your well pump’s size, water usage, and the distance between the well pump and the pressure tank.
Diaphragm Tanks
Diaphragm tanks also separate air from water but utilize a rubber diaphragm instead of a bladder. The diaphragm, typically made of rubber or a similar material, is attached to the tank walls to create an air chamber above the water. As water enters the tank, the diaphragm expands upward against the air, creating pressure.
Some benefits of using diaphragm tanks are:
- Durable Design: The diaphragm is less likely to rupture than a bladder, ensuring a longer life for your pressure tank.
- Compact Size: Diaphragm tanks tend to be smaller than bladder tanks, making them ideal for restricted spaces.
When selecting a diaphragm tank, consider similar factors as with bladder tanks: well pump size, water usage, and distance between the well pump and pressure tank.
In conclusion, both bladder and diaphragm tanks have their advantages and can be suitable for different setups. It is vital to assess your unique requirements when choosing the appropriate well pump pressure tank for your system.
Pressure Settings and Parameters
When setting up your well pump pressure tank, it’s essential to understand the pressure settings and parameters. This knowledge will help ensure optimal performance and the efficient use of water in your household.
PSI Level
The pressure settings of a well pump pressure tank are typically presented as two numbers, such as 30/50 or 40/60. The first number represents the cut-in pressure (pressure switch setting) at which the pump activates, while the second number indicates the cut-off pressure when the pump stops.
To determine the most suitable pressure settings for your well pump, consider factors such as the size of your home, usage patterns, the number of stories in your home, and the distance between faucets and the pressure tank. Common pressure settings on well water tanks include 20/40, 30/50, and 40/60 psi.
Adjusting the pressure settings on your pressure switch is possible. To do so, locate the nut on top of the larger spring within the pressure switch. To lower both the cut-on and cut-off pressures, turn the nut counterclockwise. To raise both pressures, turn the nut clockwise. Keep in mind that one rotation typically adjusts the pressure by 2-3 psi.
Installation Process
To set up a well pump pressure tank, follow these steps to ensure a smooth installation process. Remember to always wear appropriate safety gear and consult a professional plumber if you’re unsure about any aspect of the process.
- Prepare the site: Choose a level, firm, and spacious location for installing your pressure tank. Ensure it’s close enough to your well and has sufficient space around it for easy maintenance.
- Set up the mounting pad: Create a level, stable surface to support the pressure tank. You can use a concrete pad or a leveled, compacted layer of gravel.
- Assemble the necessary parts: Gather all the necessary materials, including the pressure tank, connectors, pipes, check valve, and Schrader valve. Make sure all components are compatible with the tank and pump system you have.
- Install the connectors: Attach the necessary connectors to the pressure tank before proceeding. These may include a brass tee for attaching the pump, pressure switch, and pressure gauge, as well as a check valve for preventing backflow into the well.
- Connect the piping: Run the necessary pipes between the well pump and the pressure tank. Use appropriate pipe materials (usually PVC, galvanized steel, or copper) and ensure all connections are properly sealed with Teflon tape or pipe compound.
- Install the check valve: Place the check valve in the piping system between the well pump and the pressure tank. Ensure its orientation allows water to flow in the correct direction, which is towards the pressure tank.
- Connect the pressure tank: After the piping and check valve are in place, securely connect the pressure tank to the assembled connectors and piping. Ensure there are no leaks or loose connections.
- Install the Schrader valve: If your pressure tank comes with a pre-installed Schrader valve, skip this step. Otherwise, attach the Schrader valve to the tank’s air charging port and tighten it securely.
- Charge the pressure tank: Before starting the well pump, charge the pressure tank using an air compressor or tire pump. Adjust the air pressure according to the manufacturer’s recommendations.
- Turn on the well pump: Finally, turn on your well pump and check for any leaks or issues. If everything is working correctly, the pressure tank will fill with water and increase the water pressure in your system.
Remember to periodically check and maintain your well pump pressure tank setup to ensure its optimal performance.
Measurement and Sizing
When setting up a well pump pressure tank system, it’s crucial to choose the right tank size. Sizing depends on several factors, including your well pump’s flow rate, your household water usage, and the distance between the well pump and the pressure tank. Accurate sizing ensures efficient operation, prolonged pump life, and adequate water supply during periods of peak demand.
To begin, determine your well pump’s flow rate, measured in gallons per minute (GPM). This information can typically be found in the pump’s specifications or user manual. Then, use this flow rate to estimate the required drawdown capacity of the pressure tank. Drawdown capacity refers to the usable water volume within the tank as the pressure decreases from the pump cut-off pressure to the pump cut-on pressure. General guidelines for determining drawdown capacity are as follows:
- 0-10 GPM: 1 gallon of drawdown per 1 GPM of flow
- 10-20 GPM: 1.5 gallons of drawdown per 1 GPM of flow
- 20+ GPM: 2 gallons of drawdown per 1 GPM of flow
With the estimated drawdown capacity, you can calculate the ideal pressure tank volume. Keep in mind that most household systems operate with a pressure switch set to turn the pump on at 30 pounds per square inch (PSI) of pressure and off at 50 PSI. To calculate tank volume, multiply the drawdown capacity by the pump’s flow rate, and then add a 20% buffer to ensure adequate water supply during peak usage.
For example, if your well pump has a flow rate of 10 GPM, – based on the guidelines – you need a 15-gallon drawdown capacity (10 GPM x 1.5). To find the tank volume, multiply the drawdown capacity by the flow rate (15 x 10 = 150 gallons) and add a 20% buffer (150 x 1.2 = 180 gallons). Thus, your ideal pressure tank size would be 180 gallons.
Once you’ve determined the appropriate tank size, ensure that it is installed correctly. Proper installation includes a fully accessible pressure tank location, correct pressure switch setting, and accurate pressure gauge calibration. By taking the time to accurately measure, size, and install your pressure tank system, you’ll enjoy the benefits of efficient operation, reduced energy costs, and a reliable water supply for your daily needs.
Maintenance and Troubleshooting
Regular Checks
To keep your well pump pressure tank in good working condition, it’s essential to perform regular maintenance checks. This includes:
- Checking the power supply: Confirm that the well switch near your pressure tank is on, and inspect the double-pole circuit breaker to ensure it hasn’t tripped. If it has, reset it. If the breaker continuously trips, there could be an issue with the well pump and may require professional help.
- Inspecting the pressure gauge: Monitor the pressure in your well pump system to determine if it is operating within the correct range. If the pressure readings are outside the recommended parameters, adjust the pressure settings following your well pump’s user manual or call a professional for assistance.
- Examining the pressure tank: Regularly check for signs of corrosion or damage to the tank’s interior and exterior. Over time, this can lead to issues like leaks and waterlogged pressure tanks.
Identifying Leaks
Detecting and addressing leaks early reduces the risk of more significant problems down the line. Here’s what you should do:
- Identify potential leak sources: Examine the tank, pipes, connections, and fittings to determine if there are any visible signs of leakage.
- Confirm the leak: To find out if your pressure tank has a leak, turn off the well pump and drain the water from the tank. If the tank begins to fill again when the pump is off, there is a leak.
- Isolate the issue: Once you’ve confirmed a leak, isolate the issue by checking the tank’s seams, fittings, and connections. When you identify the source of the leak, it is essential to repair it promptly to prevent further damage.
- Call a professional if necessary: If you’re unable to identify or fix the leak, don’t hesitate to call a professional plumber for assistance.
Replacement Procedures
Selecting the Proper Tank
Before you begin the replacement process, it’s essential to choose the right pressure tank for your well pump system. Check the manufacturer’s specifications to ensure compatibility with your current system. Consider factors like tank capacity, material, and dimensions. Make sure you have all the necessary tools and equipment at hand, including pliers and a drain valve, to facilitate a smooth replacement.
Steps to Replace
- Turn off the power: Firstly, switch off the power to your well pump at the circuit breaker to ensure safety during the replacement process.
- Relieve pressure from the system: Open the faucet nearest to the pressure tank to drain water and relieve pressure from the plumbing system.
- Disconnect the old tank: Using pliers, disconnect the piping and wiring connected to the old tank. Be careful to not damage the connections, as you will need them for the new tank installation.
- Remove the old tank: Once disconnected, remove the old pressure tank and set it aside. Be aware that it may still have water in it, so it might be heavier than expected.
- Install the new tank: Position the new pressure tank in the appropriate location, ensuring that it is level and secure. Consult your manufacturer’s guidelines for proper positioning, and follow any specific recommendations provided.
- Connect the new tank: Attach the piping and wiring to the new tank, carefully tightening the connections to avoid leaks and ensure proper functioning. Double-check that all connections are secure before moving on to the next step.
- Fill the new tank: Close the faucet you previously opened, and turn the power back on to the well pump. This will allow the new pressure tank to fill with water.
- Inspect and test: Once the tank is full, inspect the pressure tank and its connections for any leaks or issues. Test the system by opening the faucet to ensure that water pressure is adequate and consistent. Adjust the pressure switch if necessary, according to your manufacturer’s recommendations.
Advanced Information and Considerations
In this section, we will discuss several factors to consider when setting up a well pump pressure tank: energy consumption, water quality, and the lifespan of different units.
Energy Consumption
When setting up your well pump pressure tank, it’s essential to consider the energy consumption. The pressure tank’s efficiency and size can significantly impact your home’s energy usage. A smaller tank may cycle the pump more frequently, leading to a higher energy bill. Consider your household’s specific needs, including water usage and the distance from the well pump to the pressure tank, to help conserve electricity and maintain a cost-effective system.
Water Quality
Maintaining high water quality is crucial for the longevity and effectiveness of your pressure tank. To ensure the best water quality:
- Test regularly: It’s essential to check the pH and mineral levels of your well water. High levels of minerals like iron, magnesium, and calcium can cause sediment buildup and affect your pressure tank’s overall performance.
- Use appropriate filters: Installing proper water filters can help prevent contaminants from entering your pressure tank and prolong its life.
- Keep a stable pressure: Maintaining a stable pressure within the tank is vital to prevent stress on the tank’s bladder, which can cause leaks and affect water quality. The common pressure settings are 20/40, 30/50, and 40/60 psi, depending on your specific home and usage requirements.
Lifespan of Different Units
The lifespan of your well pump pressure tank depends on various factors, including water quality, usage, and maintenance. Here’s a general guideline on the expected longevity of different units:
- Steel tanks: These tanks generally have a lifespan of 5-7 years. However, they may be prone to rust and corrosion, which can affect the water quality and the tank’s overall performance.
- Fiberglass tanks: Fiberglass tanks are known for their durability and resistance to rust. These units can last up to 10-15 years with proper care and maintenance.
- Composite tanks: These tanks, made from a combination of materials such as steel and polyethylene, combine the benefits of both materials. They are resistant to rust and corrosion and have an average lifespan of 15-20 years.
Keep in mind that regular maintenance, including checking and adjusting pressure settings, proper filtration, and routine inspections of your tank’s components, can significantly enhance your pressure tank’s lifespan. Remembering these aspects when setting up your well pump pressure tank will ensure a more efficient, safe, and long-lasting system for your home.
Frequently Asked Questions
How do I properly install a pressure tank?
To install a well pressure tank, follow the manufacturer’s instructions to ensure a proper setup. It’s recommended to hire a professional or watch reliable online tutorials, such as those provided by The Home Depot’s YouTube channel.
What is the optimal PSI setting for a well pressure tank?
The optimal PSI setting for a well pressure tank depends on factors such as your home size, usage pattern, the number of stories in your home, and the distance between faucets and the pressure tank. Common pressure settings for well water tanks are 20/40, 30/50, and 40/60 PSI.
Which pressure switch is better: 30-50 or 40-60?
There isn’t a definitive “better” pressure switch, as both 30-50 and 40-60 PSI switches have their advantages. The best option depends on your specific needs and water usage patterns. Generally, higher pressure (40-60 PSI) might be more suitable for larger homes or situations where more consistent water pressure is desired.
Do I need to add air to my well pressure tank?
Yes, adding air to your well pressure tank helps maintain proper pressure in the system. You can use a dial or digital pressure gauge to check the tank’s pressure. To add air, find the air valve (known as the Schrader valve) on the tank and adjust it as necessary.
Can I add air to a pressure tank with water in it?
It’s best to empty the pressure tank before adding air to avoid any potential issues or inaccurate pressure readings. Turn off the power to the tank at the breaker, open a faucet to drain the tank completely, and then add air as needed.
How do I maintain proper pressure in my well tank?
To maintain proper pressure in your well tank, periodically check the PSI using a pressure gauge. Monitor your water pressure and usage patterns to identify any possible problems early on. If you notice any irregularities, consult a professional to adjust settings or diagnose issues with your well pump system. Regular maintenance and inspections can help ensure your well tank operates efficiently.


