Crawl Space Insulation In Your Home: Ultimate Guide For All Homeowners

Since insulation is essential for keeping your home warm while lowering energy expenditures. Crawl space insulation walls and sealing the floor is one of the most effective techniques to keep your home warm.
Correct crawl space insulation can prevent it from becoming wet and prevent mold and mildew growth.
Controlling crawl space temperature and moisture is a two-step process with a single goal: a temperate lower area that keeps above floors comfortable. At the same time, your home’s foundation remains strong.
What is a crawl space?
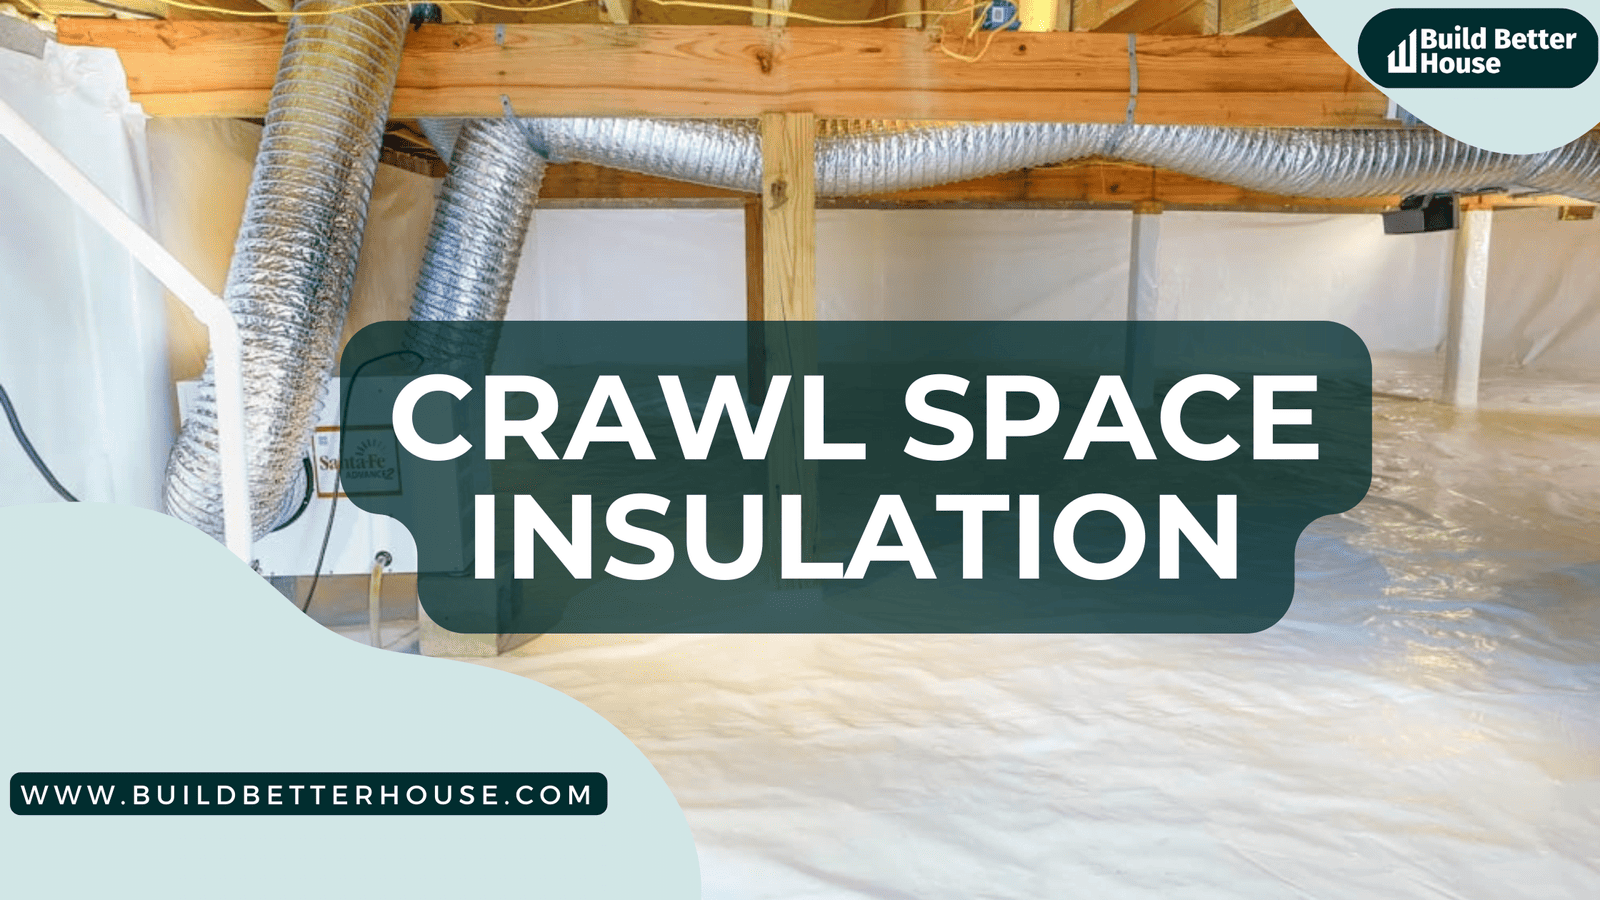
A crawl space is comparable to a basement but ventilated to the outside air. Some crawl spaces are full-height, like a basement, while others are only two feet tall or less, forcing you to crawl on the bottom.
What Is The Purpose Of a Crawl Space In a House?
Crawl spaces are used in homes for two reasons: affordability and accessibility. Crawl spaces work by allowing outside air to circulate beneath the house.
There are various advantages to building a home’s floor off the ground (rather than on a concrete slab-on-grade), including:
Cost-effectiveness
Moving soil to level a sloping site for a concrete pad can be costly; a crawl space eliminates that requirement.
Convenience
You receive a convenient location for installing the HVAC unit and plumbing, as well as water and sewer distribution throughout the house. This also simplifies future repairs and replacements.
Because of the crawl space’s surroundings, homes built over crawl spaces are prone to moisture-related concerns. Mold, wood rot, and termite infestation are frequently the result of moisture issues in the house.
One effective way to combat this is to install a vapor barrier and dehumidifier in the crawl space, which will significantly lower moisture levels.
This can dramatically lower the likelihood of the following in your crawl space:
- Mold/mildew
- Rotting wood and structural damage
- Failure of the floor
- R-values of insulation have been reduced.
- Heating and cooling costs have risen.
- Odors
- Insects
- House dust mites
- Exacerbation of allergies
- Inadequate indoor air quality
These are a few risks that might occur if not taken care of crawl space.
Crawl space insulation basics
The proper crawl space insulation technique is insulating the walls and building a vapor barrier on the ground.
A vapor barrier in a crawl space is often a thick plastic sheet used to keep moisture from entering the crawl space and assist in controlling humidity levels. The plastic is a 6 mm or thicker reinforced polyethylene plastic sheeting.
The goal of crawl space insulation is to condition the crawl space the same way you would condition other portions of your home. Rather than attempting to isolate the crawl space from the conditioned top floors, you should bring it closer to the temperature of the higher feet by removing the underfloor crawl space insulation.
Insulating the walls and sealing the floor against moisture and temperature changes from outside.
Rigid foam insulation basics
Rigid foam insulation is a dense, stiff substance consisting of polystyrene, polyurethane, or polyisocyanurate with high insulating value and durability. It is the preferred crawl space insulation for inside walls. Rigid foam insulation can be used in any masonry wall, including concrete, block, brick, and stone.
One of the primary advantages of rigid foam insulation is its high insulation value, which means it can provide a high level of heat resistance while being relatively thin. As a result, it is an efficient solution for many applications, particularly in basement walls.
Since it is cut to fit around electrical cables and other obstructions, rigid foam crawl space insulation is simple to install. It is also resistant to dampness, bugs, and mold, making it a long-lasting alternative for various applications.
Note:
Silver foil can be used to cover rigid foam Crawl space insulation that is facing inward toward the crawl area. Though the stiff foam is the primary insulator, the foil helps to save energy by reflecting heat into the crawl space.
Crawl space insulation with concrete walls
If your crawl space has concrete walls, use construction adhesive to adhere the panels to the walls and proceed as follows:
- To achieve the strongest bond, clean any dirt or debris from the concrete with a firm brush first.
- Next, apply thick glue beads to the wall every six inches across a panel’s width (about 48 inches).
- Cut the panel to height with a sharp knife and snap off the waste—or use a hand saw to cut it (it should reach the top of the wall).
- Seat the panel firmly against the wall before pushing it onto the glue.
- Ensure the panel is upright so you don’t have to make brutal cuts at the wall’s ends. Seal any gaps between boards with expanding urethane foam.
If the crawl space walls are wood-framed, you can attach the panels directly over the studs with cap-head screws or long roofing nails rather than fitting the crawl space insulation into each bay, which may expose the wood to moisture damage and mold. Using expanding urethane foam, seal the panel seams and any gaps.
Building regulations and crawl space insulation
It’s a good idea to contact your local building inspector and review your local building codes before insulating your crawl space. Most building regulations demand a minimum R-value for insulation, and some areas need exposed insulation to be fire-resistant.
Recent construction rules also require unvented crawl spaces to have conditioned air (heat and air conditioning). There are two choices:
- Install a new supply register from the house’s system into the crawl space and a passive return into the floor above the crawl space; this may be as simple as cutting through the HVAC ducting that goes through the crawl space.
- Install a passive return on the floor and an exhaust fan in the crawl area to assist in circulating the conditioned air in the home between the two spaces.
You can easily go with the method that best addresses your situation.
Crawl space insulation: Maintenance tips
You should be aware of the tips that can simplify your work both now and in the future by preventing needless issues that might arise. Let’s look at these tips:
Keep moisture out of the crawl space
Examine your crawl space for pooled water or any accumulated dampness. Downspouts that are forcing water alongside the foundation walls should be redirected.
Regrade soil piled up against the outside of the home with a shovel and rake so that water flows away from the structure.
Examine interior moisture sources
Water might also enter the house from within. Look for water dripping down the home’s underbelly using a flashlight inside the crawl space. Examine pipes that run through or within joists.
Pay close attention to places of high wetness on the floor above, such as dishwashers, showers, bathtubs, and sinks.
Crawl space doors and vents to the outside must be sealed
Seal up vents, doors, or hatches that lead into the crawl area outside the house. Fill the caulking gun halfway with exterior-grade caulk and put it into cracks and holes.
Sealing the rim joists and sills
During the day, go into the crawl space. Turn off the flashlight briefly and look for outside light shining through the rim joists and sill sections. Replace the and use the silicone caulk to fill the cracks. Use low-expansion foam insulation to fill wide fractures.
Following these tips can make your work easier and less prone to mistakes.
Crawl space wall insulation: Procedure
Knowing what you can accomplish or having adequate mapping to work on your task will result in good work. You should take the steps:
- Cut stiff foam pieces to size and use latex adhesive to connect the details to the inside crawl space walls.
- Install huge sheets of foam to create as few seams as feasible. PVC tape should be used to seal the joints between the boards.
- Cover the entire crawl space ground area with the vapor barrier.
- Create cut-outs for any protrusions, such as piers and posts.
- Apply the vapor barrier to these protrusions and seal them tightly using butyl tape.
- Seams between separate vapor barrier sheets should be closed.
- Finish by running the vapor barrier up the insulated walls about 12 inches and taping the edges to the wall insulation.
We hope that by providing you with these step-by-step directions, you will complete your work successfully!
Crawl space insulation: What you’ll require
It is not enough to simply follow the instructions to finish flawless work; it is also necessary to employ the appropriate tools and materials. You should have the following tools and materials:
Instruments / Tools
- Caulking gun
- Utility knife
- Shovel and rake
- Flashlight
- Saw with a fine-toothed blade
Materials
- Board made of expanded polystyrene foam
- Adhesive for construction
- Latex foam board glue
- Silicone caulk with a minimum thickness of 6 mil polyethylene transparent plastic
- Butyl tape, double-sided
- PVC poly tape
- Insulation made of foam
With these tools and materials, you will undoubtedly complete your assignment successfully!
When should you hire a professional?
While insulating a crawl space is not difficult, it is a labor-intensive and time-consuming project if done oneself.
Due to limited access to the crawl space, the project may need to be revised.
Many homeowners choose to employ a crawl space insulation firm or a water infiltration mitigation business to conduct the repairs for this reason alone.
Last word
For a long time, venting a crawl space was considered excellent building practice, on the assumption that a flow of fresh air would keep the crawl area dry. Research has shown that venting in humid climates causes more harm than good.
Moisture condenses when damp outside air hits the more excellent crawl space surfaces, promoting mold growth and potentially rotting the wood inside.
On the other hand, ventilation crawl spaces operate well in a dry environment. They are also common in areas prone to seasonal flooding.
Hence, after discussing many factors about crawl space insulation, we hope you’ve now understood better about crawl space insulation.
Read more:
How To Fix Clogged Shower Drain? Complete Guide
Best Sump Pump For A Pond: How To Install + Benefits
Sewer Smell In The Basement? Why It’s Happening & How To Fix It
3 Best Pedestal Sump Pumps For Your Home
Sump Pump Overflow Drain: How To Install + Benefits


