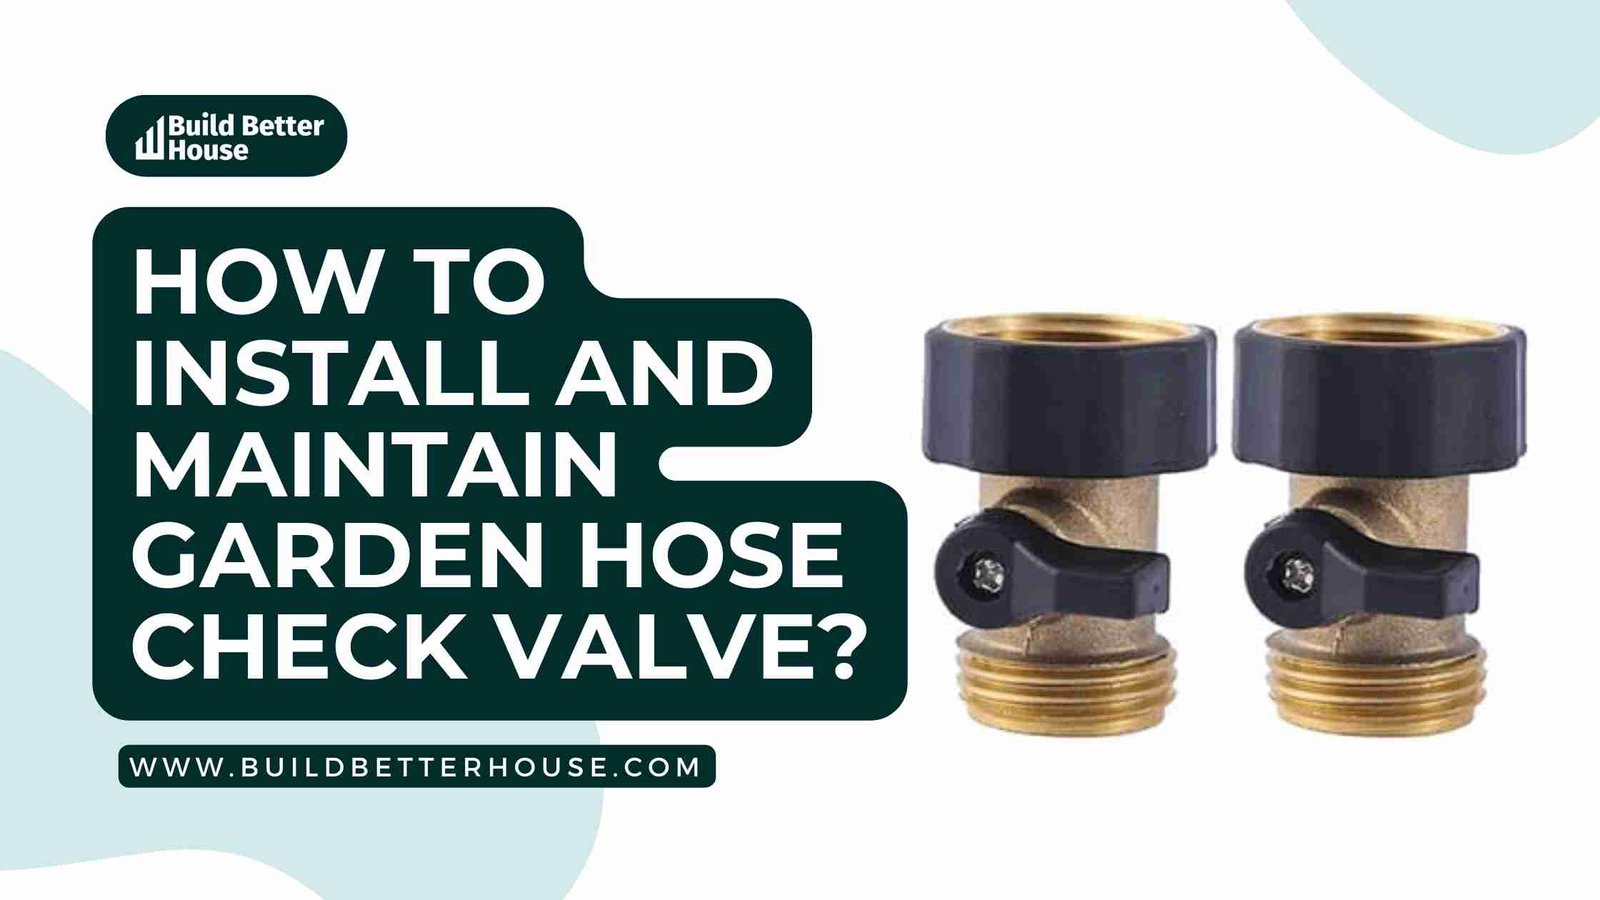
How To Install And Maintain Garden Hose Check Valve?
Installing a garden hose check valve is a quick and easy solution to safeguard your plants and garden from water damage caused by backflow.
Many believe installing a check valve is difficult, but it isn’t; you only need to remember key points to ensure the process is done correctly.
What is a garden hose check valve?
A garden hose check valve is a device installed on the end of your garden hose to prevent water from flowing back into your house. It protects indoor plants and furniture from water damage caused by backflow.

A garden hose check valve is a valuable device to have installed if you have a garden and use a hose to water your plants. Backflow occurs when water flows in the wrong direction, usually caused by the pressure of the water being higher than the pressure of the surrounding environment.
For example, water flows out into your yard and your plants, but when it comes back towards your house, and the pressure in the hose is higher than the surrounding environment, water can flow back into your home.
This can cause water damage to your home and plants and is especially dangerous for indoor plants that are less durable than outdoor plants. And to fix things up, you might need to look for backflow testing costs; hence to avoid these eventualities – A garden hose check valve is the best solution for protecting your property from water damage.
Garden hose check valve: Benefits
Since we have mentioned that the garden hose check valve is an excellent choice to protect your plants, garden, and house from water damage, it’s no surprise that it has some fantastic benefits! Let’s look few of them in detail:
Avoid Damages
The primary benefit is that it prevents water damage to your home. A garden hose check valve prevents backflow, which can cause water to flow into your home and lead to water damage. This damage can happen to any part of your house, including furniture and electrical equipment, as well as to potted plants and decorative items.
Avoid Water Lose
Another benefit of installing a garden hose check valve is that it prevents water from being lost from your system. You may have heard the phrase, “Water wasted is money wasted.” This is true, and installing a garden hose check valve can prevent water from being lost from your system and prevent water damage to your home.
Increase Lifespan
Finally, using a garden hose check valve can help increase the lifespan of your hose and any attached fixtures. When using a hose without a check valve, you may experience wear and tear due to water pressure and flow fluctuations.
A garden hose check valve can help prevent this wear and tear by regulating water flow through the hose and reducing the risk of sudden pressure surges. This can help your hose last longer and reduce the likelihood of leaks or other damage.
A garden hose check valve is easy to install and does not cost much money, so it is a simple way to protect your home from water damage.
Tips for selecting the suitable garden hose check valve
When selecting a garden hose check valve, there are several things to ensure it is the right one for your needs. Let’s quickly check out some tips:

- Select one that is large enough to fit on your hose but not too big so that it is hard to use. There are several sizes and types of garden hose check valves, and it is vital to select the right one.
- Remember that you will likely connect other items to the end of your hosen, such as watering nozzles, sprayers, and sprinklers.
- Make sure that the garden hose check valve you select works with the connectors you plan to use on your hose.
- Select a garden hose check valve that is easy to install, remove, and use. You want to be able to install and remove the device easily when it is time to refill your hose or clean out the end of the hose, as well as have it close properly so that water does not flow back into your house.
Finding the correct garden hose check valve for your needs can be as simple as following these tips to help you select the right one.
Garden hose check valve: Installation Preparation
Before installing your garden hose check valve, you must ensure that you have the necessary tools and materials. You should have a screwdriver, wrench, and a pair of pliers available.
You may also need some water shutoff valves and a hose end fitting if you install a garden hose check valve with a shutoff. There are many garden hose check valves, each requiring a different installation process.
Ensure you read the installation instructions for the type of garden hose check valve you are installing to ensure that you are doing it correctly.
You can also contact the company that makes the garden hose check valve to ask them any questions you have about installing their product.
Garden hose check valve: Steps for installing
Installing a garden hose check valve is a great way to protect your home. Not only will it prevent the backflow of water, but it will also help conserve water. Here’s how to install one:
- First, ensure the garden hose is off and any water shutoff valves are closed. This can help prevent water from flowing back into your house when you install the garden hose check valve.
- Next, you will want to clean the end of the garden hose to which you plan to connect the check valve. You will want to ensure that nothing in the hose, such as dirt or sand, could get in the check valve and cause it to get jammed or clogged.
- Finally, you can install the garden hose check valve. You will want to ensure you install it properly to work as it should.
Before installing a garden hose check valve, follow the above steps.
Common mistakes to avoid when installing a garden hose check valve
There are a few common mistakes to avoid when installing a garden hose check valve to protect your home from water damage caused by backflow.
1. Install the Valve Properly
The first thing to remember is that you want to ensure that you install the garden hose check valve properly. You want to ensure it is connected and installed correctly to close properly and protect your home from water damage.
2. Size of the Valve
Another common mistake when installing a garden hose check valve is not using the correct size. It is essential to select a size that is large enough to fit on your hose but not too big so it is difficult to use. This can cause problems with the check valve and make it difficult to use.
3. Secure the End Properly
You should also need to ensure that you properly secure the garden hose check valve to the end of the hose, and it can help ensure that it closes correctly and works as it should without any leaks.
Avoiding these common mistakes will ensure your garden hose check valve is installed correctly. With a well-installed valve, you’ll save time and money while keeping your garden healthy and hydrated.
Garden hose check valve: Testing
Once you have installed your garden hose check valve, you will want to ensure it works correctly.
Step 1: Turn off the supply
Before you begin testing the garden hose check valve, make sure to turn the main water supply off to your home or property. This will help prevent any water from flowing through the valve during testing.
Step 2. Remove the Hose and Turn on the Water
Remove any garden hose that connects the garden hose check valve. This will help to ensure that the test results are accurate. Turn on the main water supply and allow the water to flow through the garden hose check valve.
Step 3. Observe the Valve
Observe the garden hose check valve closely to ensure it works properly. The valve should close automatically when the water flow stops. This will prevent any potential backflow of water into the main water supply.
Step 4. Check for Leaks
After testing the garden hose check valve, and check for any leaks around the valve. If there are leaks, tighten the connections or replace damaged parts.
You should test your garden hose check valve once every few months to ensure it is still working correctly and is not becoming clogged or blocked. Make sure to clean it regularly so it stays in good condition and continues to work correctly.
Testing the garden hose check valve is vital to ensure your garden is safe and secure. With a working valve, you can be sure that no water will be wasted or cause any damage.
Garden hose check valve: Maintenance
You can do a few things to maintain your garden hose check valve and keep it in good condition.
- Store the valve in a dry, protected area when not in use to prevent rust and corrosion.
- Ensure you clean the garden hose check valve every couple of months. You can use a garden hose cleaning brush, a small wire brush, or a putty knife to clean it.
- Lubricate it with a light oil, such as WD-40, once a year. You can also replace the garden hose check valve every few years, mainly if used often.
- Inspect the valve for signs of wear or damage, and replace it if necessary
Keeping the garden hose check valve clean and maintained ensures that it always works correctly and protects your home from water damage.
Troubleshooting common issues with garden hose check valves
You may need help with your garden hose check valve despite your best efforts. Here are some common issues and how to troubleshoot them:
- If you notice any leaks around the connections, it may be due to loose connections or damaged threads. Use pliers or an adjustable wrench to tighten the connections or replace the valve if necessary.
- If you notice a decrease in water pressure, it may be due to a clogged valve. Check the valve for any debris or dirt blocking the water flow. Clean the valve as needed.
- If you notice water flowing in the wrong direction, it may be due to a faulty valve. Check the valve for any damage or wear and tear, and replace the valve if necessary.
If you’re experiencing issues with your garden hose check valve, it’s essential to address them quickly to prevent any damage to your watering system.
Conclusion
Installing a garden hose check valve is an easy way to protect your home from water damage caused by backflow. It can help prevent water from flowing back into your house and causing water damage to your furniture, decorative items, and potted plants.
A garden hose check valve can be bought from most hardware stores and is easy to install. However, it is essential to follow the installation instructions to ensure the installation is proper. These tips protect your home from damage and help establish a garden hose check valve.
FAQs:
1. Do I need a garden hose check valve?
If you want to maintain consistent water pressure and prevent backflow, a garden hose check valve is recommended.
2. What is the difference between an inline check valve and a backflow preventer?
An inline check valve is installed directly on the garden hose, preventing backflow. A backflow preventer is installed at the source of the water supply and prevents contamination.
3. How often should I replace my garden hose check valve?
Replace your garden hose check valve every few years or if you notice any damage or wear.
Read more:
Sump Pump Check Valve Failure Problem? Fix It Now
6 Best Sump Pump Check Valves In The Market
How To Fix Dishwasher Check Valve? Follow These Steps


Michael Bowen
Michael Bowen is an ambitious entrepreneur who has been in the business of building homes since he was 19. Michael's commitment to honesty, integrity, and high-quality workmanship has earned him a reputation as one of the best in the business.