How to Prime a Well Pump: Expert Tips for Optimal Performance
Priming a well pump is an essential skill for anyone who relies on a well to supply their water. Whether you have recently installed a new well pump or are experiencing a sudden loss of water pressure, understanding how to prime your well pump can help keep your water flowing. In this article, we’ll take a look at the basics of well pumps, the importance of priming, and the steps one can take to successfully prime their well pump.
Well pumps come in two main varieties: submersible and non-submersible. Both types require priming when they are first installed or if there’s a sudden drop in water pressure. Priming is crucial because it helps to create a vacuum in the pump, allowing water to flow through your pipes and into your storage tanks. By learning how to prime your well pump, you can avoid potential damage to the unit and maintain the flow of fresh water to your home.
Key Takeaways
- Priming a well pump is necessary for initial installation and maintaining water flow.
- Both submersible and non-submersible well pumps need to be primed under certain circumstances.
- Proper priming can help prevent damage to the well pump and preserve your water supply.
Understanding Well Pumps
Types of Well Pumps
There are several types of well pumps used for various purposes. Knowing the differences can help you choose the best pump for your needs.
- Shallow well pump: A shallow well pump is designed to extract water from shallow wells; generally, 25 feet deep or less. These pumps often use a jet pump to create suction and draw water to the surface.
- Deep well pump: Deep well pumps are used for extracting water from deeper wells, typically more than 25 feet deep. There are two main types of deep well pumps: jet pumps and submersible well pumps.
- Jet pump: A convertible jet pump is suitable for deep wells and can create enough suction to lift water from depths of up to 100 feet. It works by spraying water into a venturi pipe, creating a vacuum that draws water from the well.
- Submersible well pump: A submersible well pump is placed underwater in the well itself. These types of pumps are designed for deep wells and can handle depths of several hundred feet. They push water up to the surface, rather than lifting it like a jet pump.
Self-Priming Vs Non-Self-Priming Pumps
Well pumps can be classified into self-priming and non-self-priming pumps. Understanding the distinction is crucial when selecting a pump for your well system.
- Self-priming pumps: A self-priming pump has a built-in mechanism that allows it to prime itself automatically, meaning it can remove air from the plumbing system without manual intervention. Self-priming pumps are more convenient, requiring less maintenance to eliminate airlocks in the system. However, they may have a limited depth capacity compared to non-self-priming pumps.
- Non-self-priming pumps: Non-self-priming pumps lack the built-in priming mechanism, which means you’ll need to manually prime the pump by filling it with water before use. This is usually necessary when the pump is first installed or after a prolonged period without use. While non-self-priming pumps might require more effort, they may be better suited for deep wells and high volume water extraction.
By learning about the different types of well pumps and their characteristics, you can make a more informed decision when selecting a well pump for your specific needs. Keep in mind factors such as well depth, water volume requirements, and maintenance preferences when deciding between self-priming and non-self-priming pumps.
Importance of Priming
Priming your well pump is a crucial step to ensure its proper functioning and maintain the optimal flow of clean water for your household. When priming, you are manually creating a vacuum within the pump, which allows water to be drawn through the pipes and into your storage tanks. Skipping this process can lead to issues such as poor water flow, damage to the pump, and inconsistency in water pressure, also known as delta P.
The process of priming not only protects your well pump from damage but also ensures that you have a steady supply of clean drinking water. By removing trapped air within the pump and piping system, the pump’s efficiency is boosted, reducing the likelihood of malfunctioning or premature wear. Moreover, priming can help you identify any potential leaks in the system, allowing for early detection and repair.
It’s essential to follow the Environmental Protection Agency (EPA) guidelines for well water safety, which include regular testing for water quality and ensuring proper well pump maintenance. Priming plays a significant role in maintaining the water quality of your well system, as it ensures that the pump is working efficiently and drawing water from the correct depth.
In conclusion, priming is a vital aspect of maintaining a functional well pump system, safeguarding your pump from potential damages, and ensuring the consistent delivery of clean drinking water. Following EPA guidelines and prioritizing regular pump maintenance practices, including priming, will significantly improve the longevity and reliability of your well system, providing a safe and steady supply of water for your home.
Before You Prime
Check the Pump
Before you start priming your well pump, it’s important to inspect the pump to ensure it’s in good working condition. First, switch off the pump and unplug it from the power supply. Then, carefully examine the pump and its connectors for signs of damage such as cracks, leaks, or broken components. A damaged pump may not function properly and could cause further issues during the priming process.
Another aspect you need to be aware of is the pump’s pressure. Check the pressure gauge to ensure it is reading the correct psi. If the psi is too low, there could be a blockage, clog, or backflow issue within your pump or well system that needs to be addressed.
Assess the Well
Before attempting to prime your well pump, it’s essential to assess the overall state of your well. A clog or blockage within the well can prevent water from reaching your pump, making it impossible to prime. Examine your well for any visible obstructions and clear them if necessary.
Additionally, ensure that there is an adequate water level in the well. A low water level can hinder the creation of the pressure vacuum needed for priming. If the well is not supplying enough water, you may need to investigate further into potential issues with the well itself.
By following these steps and thoroughly inspecting both your well pump and the well, you can confidently proceed with priming the system without any unexpected issues arising.
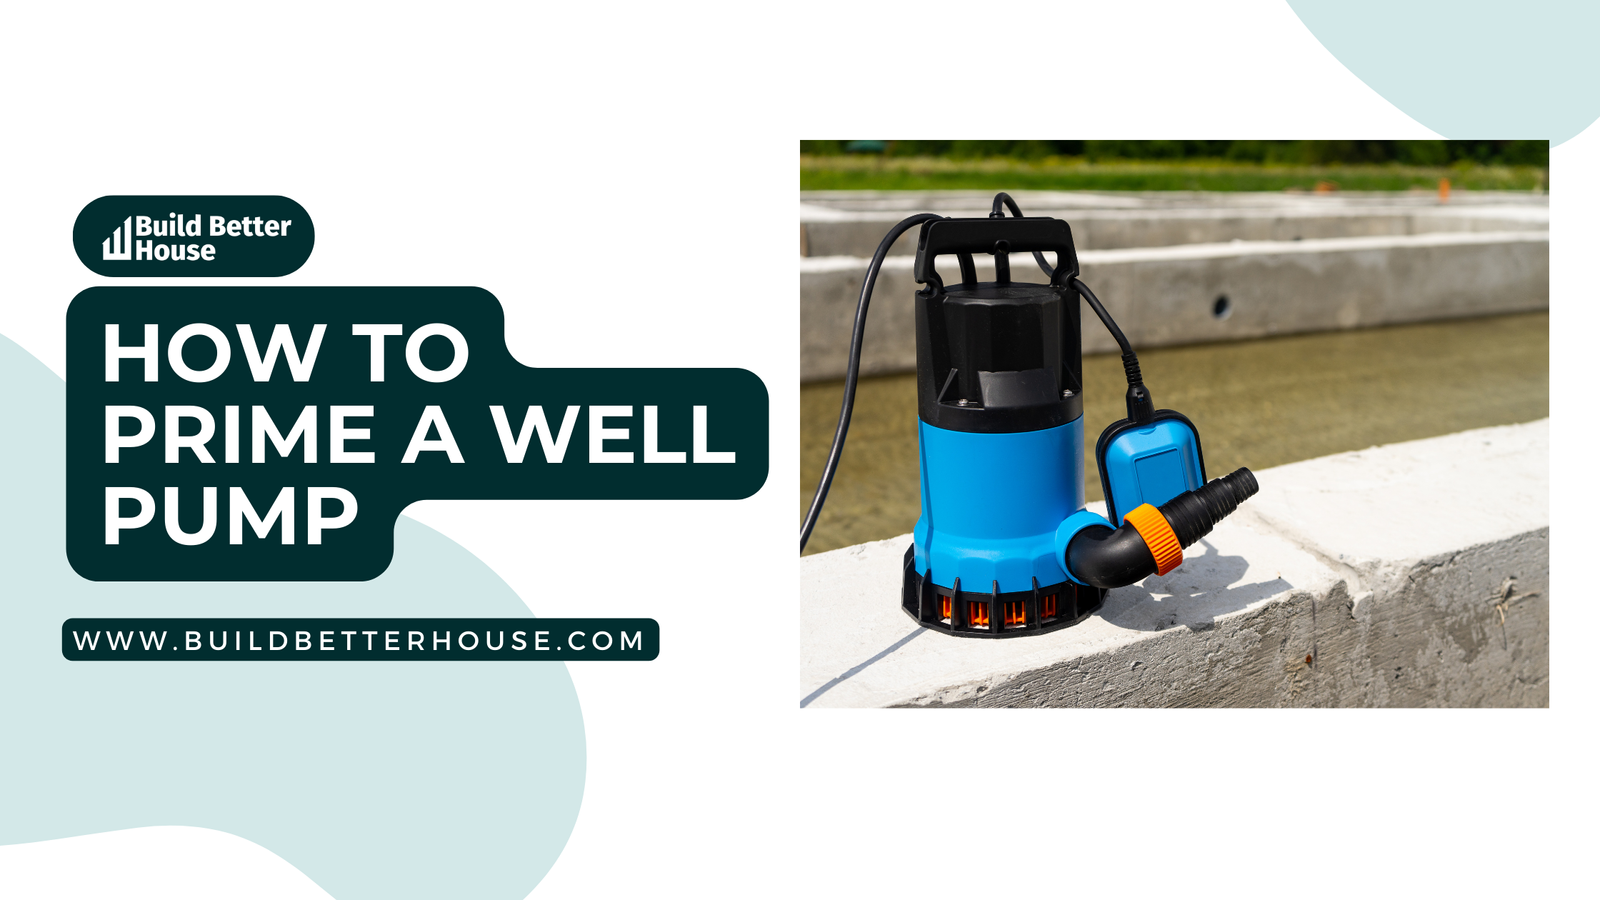
Steps to Prime a Well Pump
In this section, we will go over the steps you need to take to prime your well pump. Remember to follow all safety precautions as you perform this process.
Prepare the Pump
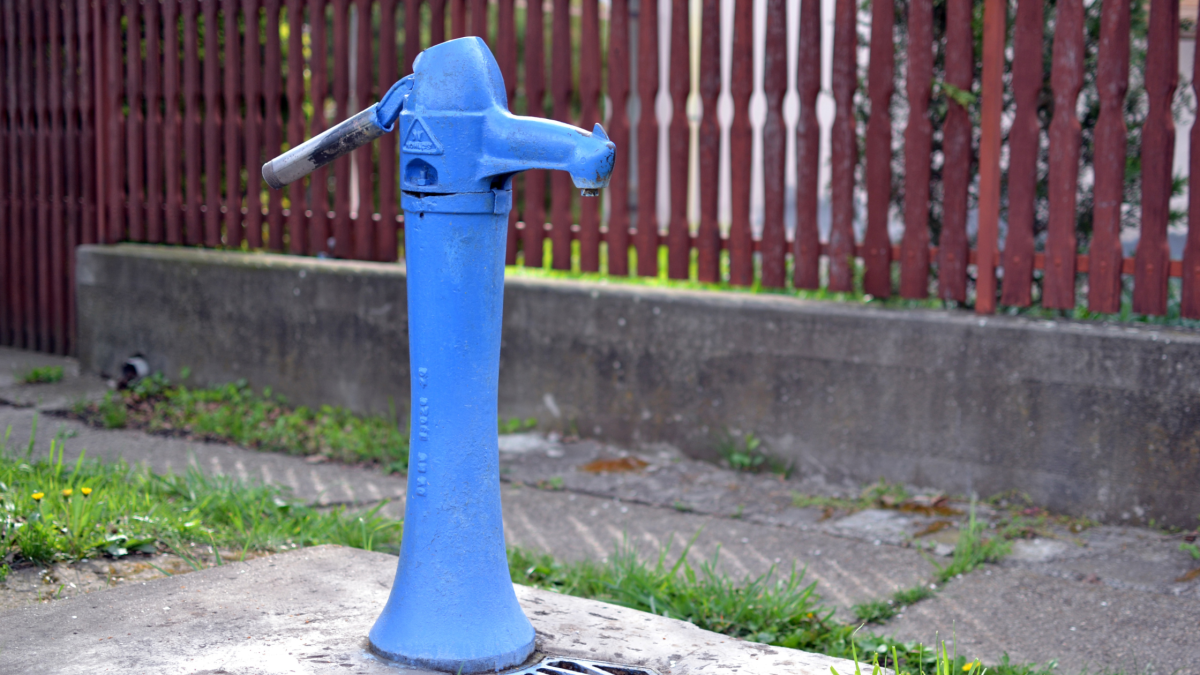
Before you begin, switch off your well pump and unplug it from the power supply. Inspect the pump and connectors for signs of damage, such as cracks or leaks. Locate the priming plug, which should be on the head of the pump. Remove the priming plug by twisting it counter-clockwise. Also, ensure the outlet valve is closed to avoid water escaping during the process.
Start the Priming Process
To prime your well pump, follow these steps:
- As the priming plug is removed, use a water hose to fill the pump with water.
- Monitor the water level in the pump until it starts overflowing from the priming plug hole and open release valves.
- Once the pump is filled with water, close the release valves and reinsert the priming plug into its original position.
Restore the Pressure
After priming your well pump, you need to restore its pressure. Here’s how:
- Reconnect the pump to the power source and turn it on.
- Gradually open the outlet valve, allowing the pump to build pressure.
- Observe the pressure gauge while the pump is running. Once the gauge indicates that the pressure has stabilized, that means the priming process is complete.
In conclusion, you have now learned the necessary steps to prime your well pump successfully. If you follow these instructions thoroughly, you will ensure that your pump operates at its optimal efficiency level.
Troubleshooting Issues with Pump Priming
Addressing Malfunctions
When your well pump is not priming, one potential cause could be debris in the impeller. Check for clogs and clear any debris that may be obstructing the impeller. If your pump is still not priming after clearing debris, proceed to diagnostic checks.
Conduct diagnostic checks on your well pump system by examining the pump casing, connectors, and other components for signs of wear or damage. Faulty components can hinder the pump from functioning properly, and sometimes replacing them can rectify the issue.
Dealing with Leaks and Cracks
Air leaks in suction lines can prevent your pump from creating the required low-pressure area for priming. Inspect the suction line for leaks and repair any detected issues. Moreover, examine your pump casing and connectors for leaks, cracks, and other signs of damage. Fix any identified problems to ensure a smooth and efficient pump operation.
Air gaps in intake pipes can also be a concern when priming your pump. To identify air gaps, visually inspect your pipes and listen for unusual noises. If you find any air gaps, take appropriate measures to address them, such as tightening connections or repositioning the intake pipe.
By following these troubleshooting steps, you can effectively address common issues with pump priming, ensuring the efficient operation of your well pump system.
Maintaining Your Well Pump
Regular Check-Ups
To ensure the smooth operation of your well pump, it’s important to perform regular check-ups. Start by examining the check valve and foot valve for any signs of wear or damage. These valves play a crucial role in preventing backflow, so replacing them when necessary is essential for maintaining efficient water flow.
Next, inspect the pressure tank for any corrosion or build-up that could result in unsafe pressure levels. If you notice any issues, make sure to address them without delay. Additionally, routinely check the fittings, power source, and release valves to confirm they are in good working condition.
Examine your well pump’s relief valves and foot valves for wear and tear or damage. These components are vital for maintaining proper pressure and water flow. Replace any worn or damaged parts to prevent potential problems down the line.
Lastly, be attentive to the condition of the seals in your pump system. Worn seals can lead to water leaks and decreased efficiency, so it’s essential to replace them as needed.
Professional Support
While regular check-ups are crucial for maintaining your well pump, enlisting professional support for periodic maintenance can significantly extend its lifespan. Skilled technicians can assess the condition of your well pump and offer expert guidance on how to address any issues. They can also provide recommendations on part replacement or help you identify when it’s time to upgrade your system.
Additionally, professionals can assist with tasks such as inspecting and adjusting release valves and relief valves to ensure they are functioning correctly. They can also safely clean and maintain your pressure tank and evaluate the condition of all components, including fittings, power sources, and seals.
By taking these proactive measures and seeking professional support when necessary, you can ensure your well pump remains in optimal working order and serves you effectively for years to come.
Conclusion
By now, you should have a good grasp of how to prime a well pump. Remember to switch off the pump and unplug it from the power supply before starting the process. Inspect the pump and connectors for any signs of damage, such as cracks, and locate the prime plug, which is usually found on the head of the pump.
To ensure the priming process is successful, manually create a vacuum to draw water through the pump and into your storage tanks. Keep in mind that this process may only need to be done when the pump is first installed, and occasionally in cases of sudden pressure drops.
As you gain experience in priming well pumps, you’ll find that it becomes a manageable task that helps maintain your water supply and keep the pump functioning efficiently. Just make sure to take necessary safety precautions and be patient throughout the process.
Finally, don’t forget to monitor your well pump’s performance and schedule regular maintenance. This will help you identify any potential issues such as leaking pipes, defective foot valves, or damaged check valves, and address them promptly to ensure a consistent and reliable water supply for your household.
Frequently Asked Questions
How do I prime a shallow well pump?
To prime a shallow well pump, first turn off the pump and unplug it from the power supply. Inspect the pump and connectors for any damage, such as cracks. Find the prime plug, usually located on the pump head, and remove it. Then, use a clean hose to fill the pump housing with water. Once the casing is filled, replace the plug and turn the pump back on.
What is the process for priming a pressure pump?
Priming a pressure pump starts with turning off the pump and unplugging it. Remove the prime plug and open any release valves. Fill the pump housing with water using a clean hose. Once filled, close the release valves, replace the plug, and turn the pump back on. The pump should now be primed and ready for use.
How can I prime a pump with a check valve?
To prime a pump with a check valve, first turn off the pump and unplug it. Then, remove the prime plug and the check valve, which is typically near the pump or in the pipe connected to it. Pour water into the pump housing until it is filled. Replace the check valve and prime plug, and then turn the pump back on.
What steps should I take to prime a well pump for a sprinkler system?
To prime your well pump for a sprinkler system, start by turning off the pump and disconnecting the power. Locate and remove the prime plug, then open the sprinkler system’s main shut-off valve. Fill the pump housing with water. Once completed, close the shut-off valve, replace the prime plug, and turn the pump back on.
How do I know if my well pump has lost prime?
If your well pump has lost prime, you may experience decreased water pressure, air in the water lines, or no water at all. Additionally, the pump may make unusual noises, or the motor may overheat. To remedy this issue, you will need to re-prime the pump.
How long should a well pump run after priming?
After priming, allow your well pump to run for at least 10 to 15 minutes so that it can build up adequate pressure in your system. This also ensures that any air trapped in the system is expelled. Check for any leaks or irregularities during this time, and make necessary adjustments if needed.


Michael Bowen
Michael Bowen is an ambitious entrepreneur who has been in the business of building homes since he was 19. Michael's commitment to honesty, integrity, and high-quality workmanship has earned him a reputation as one of the best in the business.